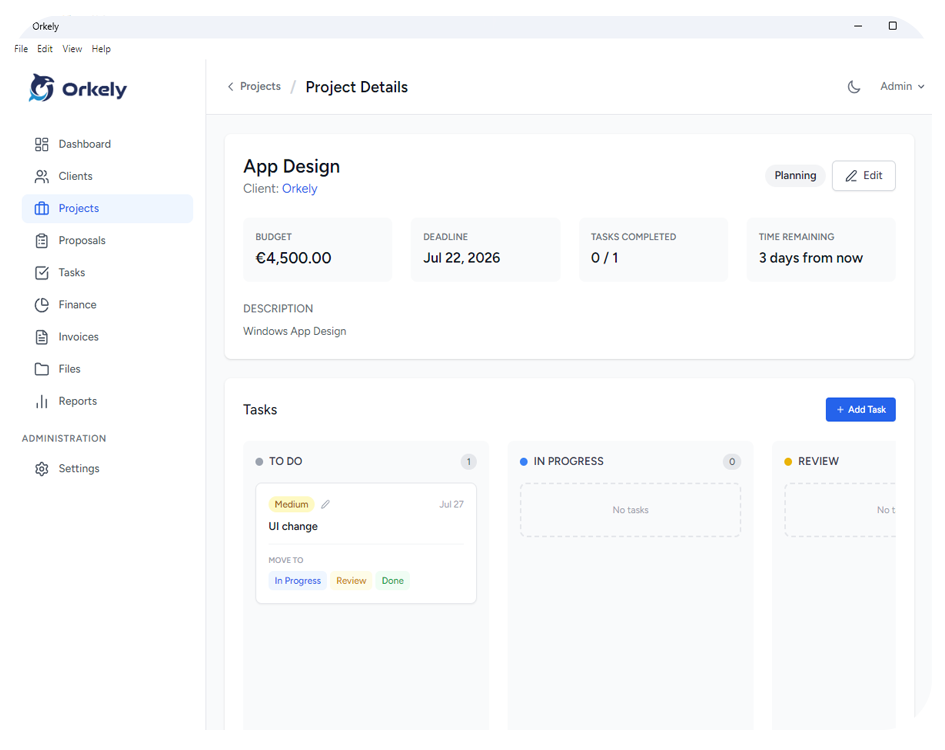
A graphic design project workflow should make the next decision visible. Record the brief, prepare the inputs, develop the agreed concepts, collect feedback and check the final exports before handover.
This is a focused workflow for a defined design commission, rather than a general guide to running a creative business. The example below follows a fictional café menu redesign.
Capture the brief before opening the design file
Confirm the menu's purpose, page size, output formats and approval contact. Ask whether prices and text are final. Record who supplies photography and whether the client expects editable source files.
Create a deliverables list: a two-page print layout, a web PDF and any agreed adaptations. Keep printing, photography and unrelated promotional material outside the list unless included in the agreement.
This prevents a production task called “menu” from carrying several unstated expectations.
Build a small set of production stages
Use tasks that describe outcomes: prepare supplied assets, establish layout direction, produce the complete preview, apply consolidated feedback and check the delivery exports.
Do not use a task board to duplicate every layer in the design software. Its purpose is to show the business status of the job, including missing inputs and review dependencies.
Record internal time by stage if you want to improve future estimates. A fixed-price design job can still benefit from knowing how much preparation and revision time it required.
Make the review version unmistakable
Label the preview and explain what kind of feedback you need. Early layout review should focus on structure and direction; final checking should identify factual errors and agreed refinements.
Ask one contact to consolidate comments. Record decisions about rejected directions as well as the selected version, especially when the client may revisit them later.
If the client adds a third page, treat that as a scope discussion before expanding production. Explain the effect on cost and timing rather than absorbing it into an unrelated correction.
Check the output for its intended use
Review spelling, prices, alignment, image quality and whether the final files match the approved version. Confirm print specifications with the printer where relevant. A web PDF and a print PDF may need different preparation.
Keep export settings appropriate to the actual production requirements. No generic checklist can guarantee that every printer will accept the same file.
Retain a record of the approved output and deliver the files with names the client can understand.
Connect the job to the administration
Use Orkely's projects and task attachments for the job record while continuing production in your chosen design application. Orkely holds business context; it does not edit the artwork or check colour profiles.
Before invoicing, compare the agreed fee and approved additions with what is being billed. Keep supplier costs such as licensed assets identifiable, including whether the client agreed to reimburse them.
A compact completion check
- The deliverables match the brief.
- Feedback relates to the correct preview.
- Added scope has a recorded decision.
- Final exports have been opened and checked.
- Approval and delivery details are retained.
- Billing and any follow-up action are recorded.
Should every design job use identical stages?
Reuse the structure, but adapt it to the deliverable. Packaging, presentation design and a small logo update need different production checks.
Is the proposal builder required for this workflow?
No. Your brief can be prepared separately. Orkely's proposal builder is available through the optional in-app add-on; see pricing.
Try the workflow on one project and use the help videos to see how the business records fit together.