A useful client onboarding checklist collects the information you need to begin work, get decisions and send an accurate invoice. It should also uncover anything that could stop the project before you promise a delivery date.
You do not need a long questionnaire for every enquiry. Start with a short intake, then collect the remaining details once the client confirms the work. The aim is a project you can start confidently, with a clear record of what both sides expect.
Confirm the contact and the decision maker
Record the client's business name, main contact, email and preferred communication channel. Ask who approves the work and who handles billing. These may be three different people.
For example, a café owner might request a menu design while a manager supplies prices and an external bookkeeper receives the invoice. Knowing that arrangement early prevents a completed design sitting in the wrong inbox.
Keep professional contact details relevant to the job. Do not collect identification documents or unrelated personal information simply because a form has space for them.
Define the first deliverable
Write a plain-language description of the result. “Design support” is difficult to finish. “A two-page menu supplied as a print PDF and a web PDF” gives both sides something concrete to approve.
Confirm the number of deliverables, formats, expected review rounds, target date and exclusions. Record dependencies separately: the client may need to provide copy, images, measurements or access before you can begin.
Set a date for receiving those inputs. A delivery commitment should account for the time you actually have after the materials arrive.
Collect files and billing details
Ask for approved source materials and identify which version is current. A folder containing five logos does not tell you which one the client wants used. Record the chosen file and ask about any usage restrictions.
For billing, confirm the recipient, business address where needed, agreed price, currency and payment arrangement. Check whether the client needs a purchase order or internal reference before accepting an invoice. These are workflow checks; invoice requirements still depend on your circumstances and location.
Use this reusable intake checklist
- Main contact and approval contact confirmed.
- Billing recipient and required reference confirmed.
- Deliverables, formats and exclusions written down.
- Price and payment arrangement agreed.
- Source materials received and current versions identified.
- Client dependencies and review dates recorded.
- First task and next communication date scheduled.
If an item is missing, name the owner and the next action. “Waiting for logo from Maria by Thursday” is more useful than “assets pending”.
Move the intake into the project
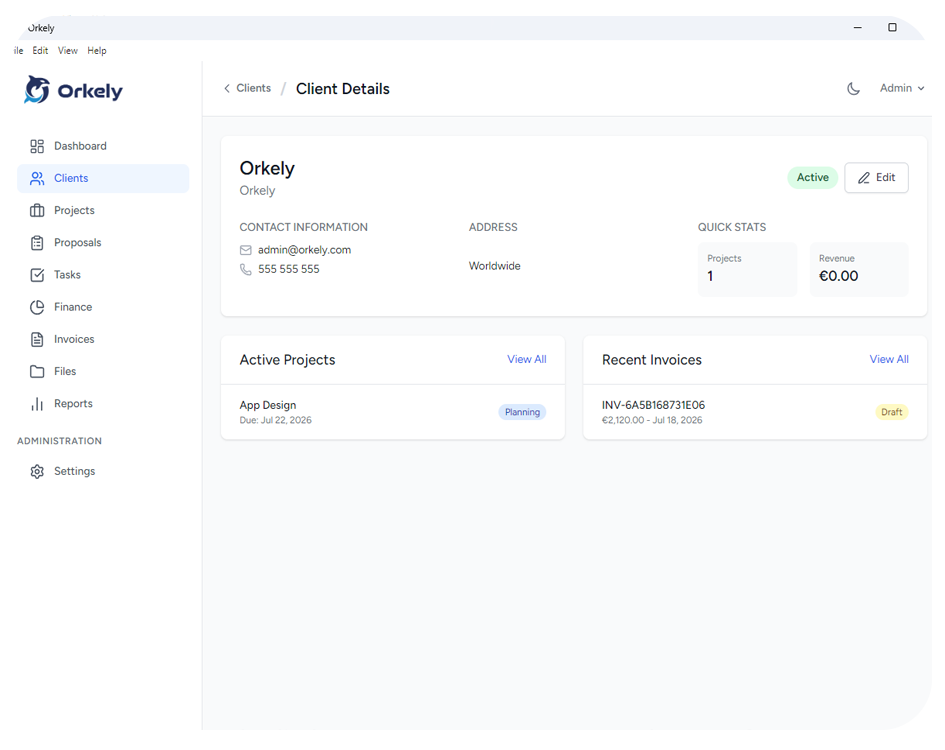
Keep lasting relationship details in the client record and job-specific decisions with the project. In Orkely's client and project tools, those records can remain connected as the work develops. Use a consistent project name such as “Harbour Café — Autumn Menu” so future searches are straightforward.
The checklist remains your procedure, rather than a claim that the software automatically requests documents or approves the scope. Check the actual materials yourself before marking onboarding complete.
Questions freelancers ask
Should every client complete the same form?
Use the same essential questions, then adapt the detail to the job. A small artwork update needs less preparation than a new website.
What if the client wants work to start immediately?
Agree a small, clearly defined first stage and identify the information it requires. Do not silently assume the missing details.
Start your next job by completing the intake before opening the production files. For a practical view of the workspace, watch the Orkely help videos.